Add Windows Disks to the Finder
If you often work with Windows, you can add Windows disks to the Finder to keep Windows files always at hand.
Do the following:
-
First of all, make sure that Windows disks are shared with macOS. Do one of the following:
- Click the Parallels Desktop icon in the menu bar and choose Configure.
- If the menu bar is visible at the top of the screen, choose Actions > Configure .
Then click Options and select Sharing > Share Windows .
Make sure that Access Windows folders from Mac is selected. If you want to share Windows OneDrive too, select Share OneDrive with Mac .
- In the next step, you need to allow Windows disks to be mounted to the macOS desktop. Open the Finder, choose Finder > Preferences and select Connected servers .
-
Now you need to mount Windows disks to the macOS desktop. In the Finder, click your virtual machine - it should be available in the
Shared
section. The virtual machine must be running.
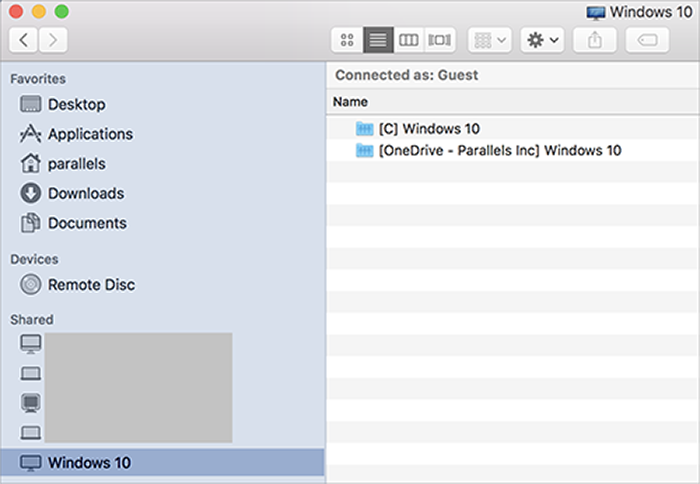
Then double-click any of Windows disks. The disk gets mounted and shown on the desktop.
-
Drag the disk from the desktop to the
Favorites
section in the Finder.
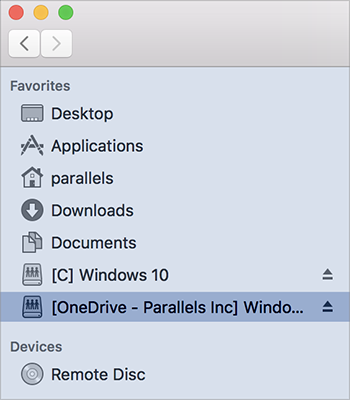
Now this Windows disk is always available in the Finder. You can use it to access Windows files.