You can either select an operating system from the list, or select Other in case you cannot find the required one there.
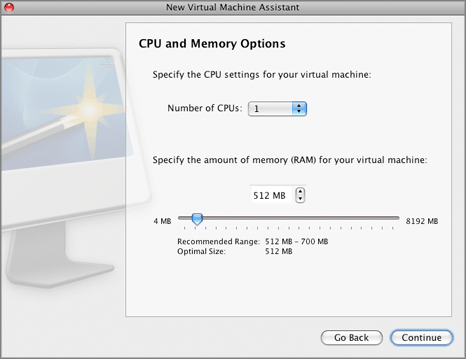
In the current version of Parallels Desktop, you can use your Boot Camp Windows Vista (SP1) or Windows XP (SP2 or SP3) partition as a bootable disk or as a data disk in virtual machines. For more information about using Boot Camp partition as a virtual hard disk for a virtual machine, see the Using the Boot Camp Partition in a Virtual Machine chapter .
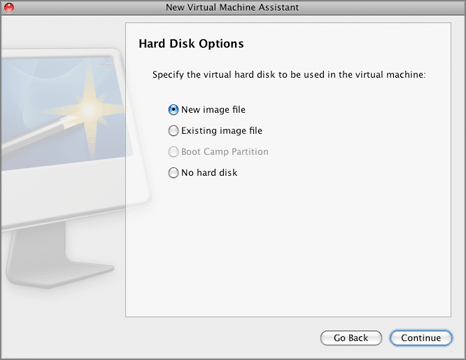
If you chose to create a new virtual hard disk on the previous step, in the New Virtual Hard Disk window, specify the size and type for the disk and click Continue . If you have chosen to use an existing image file, in the Existing Virtual Hard Disk window, specify the hard disk image to be connected, its interface type and position. Click Continue .
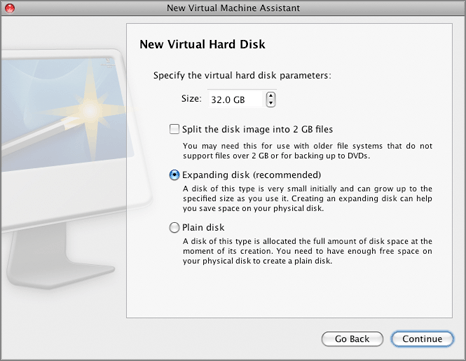
Note: You may reconfigure the networking settings after the virtual machine is created, using the Virtual Machine Configuration dialog .
If you selected Bridged Networking , on the next step you will need to select the network adapter to be used by the virtual machine:
The host computer network adapters included in this list are also available for selecting. Select the Connected option if you want the virtual machine to start up with this network adapter connected.
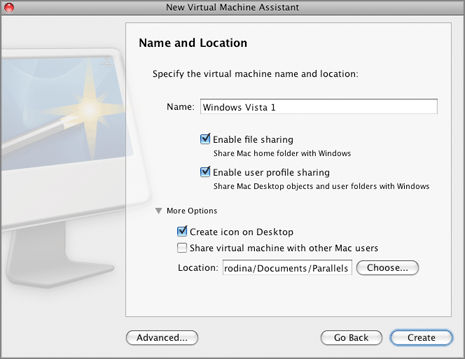
In the More Options section, you can configure the following virtual machine parameters:
\Users\Shared
folder on your Mac.
Note: A number of Windows-specific icons (such as the Recycle Bin and Shared Folders icon) always remain on the Windows desktop.
This option also allows you to share the following user folders to Windows: Documents, Pictures, and Music. You can share all these folders or only some of them. To this effect, enable this option and go to the Shared Profile Options pane of Virtual Machine Configuration.
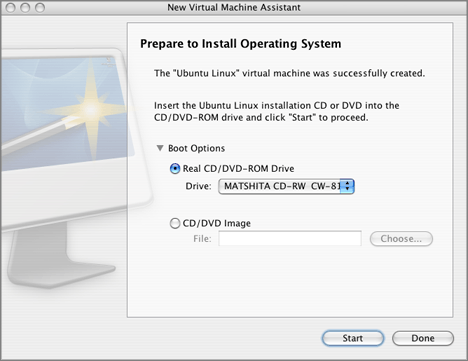
Note: Parallels Desktop does not provide users with OS ISO images or OS installation discs. You should purchase an OS installation disc or an OS ISO image if you do not have any.
Note: If your Mac OS X version is Mac OS X Leopard, and you want to use the F8 key when installing the Windows guest OS, refer to Using F8 Key in Windows Virtual Machine on Mac OS X .
When the installation is complete, install Parallels Tools if they are available for the guest OS you just installed. Refer to the Installing Parallels Tools section .