|
|
|
|
Installing Parallels Remote Application Server
To install Parallels Remote Application Server:
- Before proceeding, make sure that you are logged into the computer where you'll be performing the installation with an account that has administrative privileges.
- Download the latest version of Parallels Remote Application Server from the Parallels website.
-
Double click the
RASInstaller.msifile to launch the Parallels Remote Application Server installation wizard.
- Click Next .
- Review and approve the end-user license agreement and click Next .
- Specify the folder location where Parallels Remote Application Server will be installed and click Next .
-
Select the installation type:
- Select Parallels Remote Application Server to run the default installation.
- Select Custom and then (after clicking the Next button) specify the components to install.
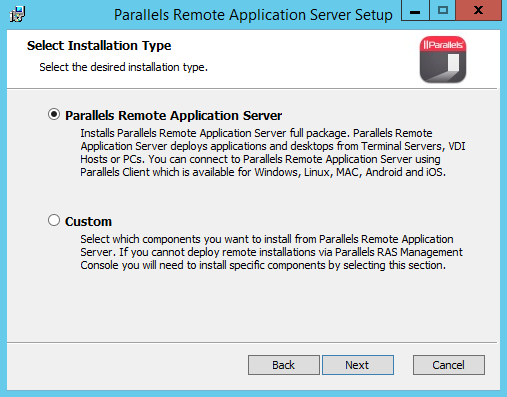
- Click Next .
-
If there's a port conflict on your computer, review the notice on the
Important Notice
wizard page. You can resolve the conflict later.
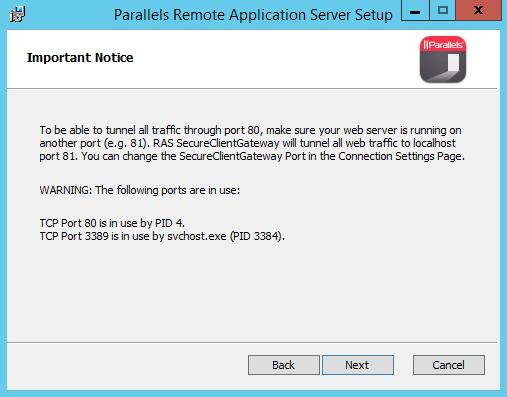
- Click Next .
-
On the
Firewall Settings
page, select
Automatically add firewall rules
to automatically configure the firewall on this computer for Parallels Remote Application Server to work properly.
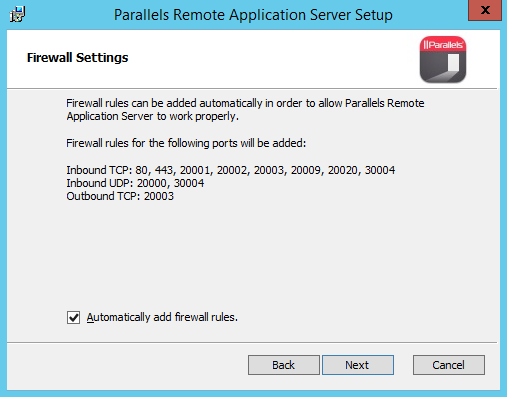
- Click Next and then click Install .
- Wait for the installation to finish and click Finish .
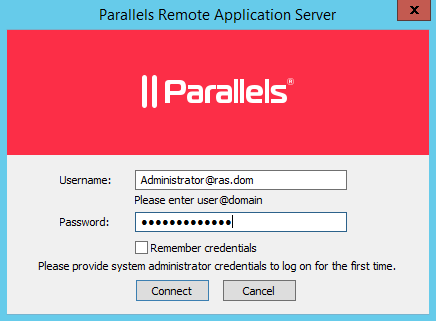
Logging Into RAS Console for the First Time
The first time the Parallels Remote Application Server Console is launched, you need to specify credentials of a user with administrative privileges (usually a domain or local administrator). The user name must be specified using the UPN format (e.g.
administrator@domain.local
). The specified user will be automatically configured as the Parallels Remote Application Server administrator.
|
|
 Feedback
|