|
|
|
|
Installing Parallels Management Console
The process of installing Parallels Management Console differs depending on the operating system installed on your computer.
Installing on Windows Computers
To install Parallels Management Console on a computer running a Windows operating system:
- Locate the Parallels Management Console installation file, and double-click it to launch the Parallels Management Console Setup wizard.
- In the Welcome window, click Next .
-
In the
License Agreement
window, carefully read the end user license agreement for Parallels products. To agree with the terms of the license agreement, select
I accept the terms in the license agreement
, and click
Next
. If you want to print the text of the license agreement for your records, click
Print
.
Note: You must accept the license agreement to proceed with the installation.
-
In the
Destination Folder
window, specify the folder where you want to install Parallels Management Console, and click
Next
. By default, Parallels Management Console is installed to
C:\Program Files\Parallels\Parallels Management Console.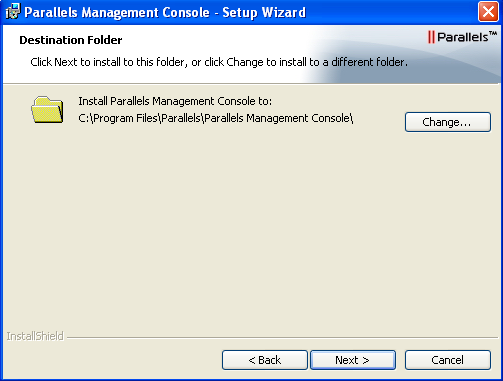
- In the Ready to Install the Program window, click Install to start installing Parallels Management Console. You can view the installation progress in the Installing Parallels Management Console window.
- Once the installation is complete, click Finish to exit the wizard.
Installing on Linux Computers
To install Parallels Management Console on a computer running a Linux operating system:
-
Locate the installation package, and execute the
parallels-management-console-4.0.XXXX.XXXXX.runfile to launch the Parallels Management Console installer. You can also open a terminal and run this file in the terminal. -
Confirm your decision to install Parallels Management Console by clicking
Run
when prompted.
Wait until the process of uncompressing Parallels Management Console is complete and the installer launches.
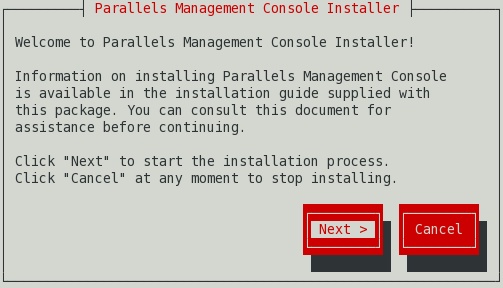
-
In the
Welcome
window, select
Next
.
-
In the
License Agreement
window, carefully read the end user license agreement. To agree with the terms of the license agreement, select
I accept the terms in the license agreement
, and click
Next
. To print the text of the license agreement for your records, click
Print
.
Note: You must accept the license agreement to proceed with the installation.
-
In the
Installation Completed
window, click
Exit
to quit the Installer.
By default, Parallels Management Console is installed into
/usr/lib/parallels-management-console. To launch Parallels Management Console, start a terminal, and executepmc-standalone.
Installing on Mac Computers
To install Parallels Management Console on a computer running a Mac OS X operating system:
- Open the Parallels Management Console DMG package, and double-click Install .
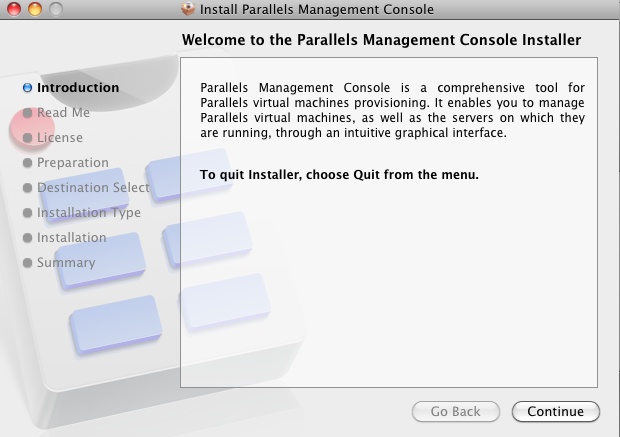
-
In the
Welcome
window, click
Continue
.
- In the Important Information window, read the product Read Me file. Click Print to print the document or Save to save it for future reading. When finished, click Continue .
- In the Software License Agreement window, carefully read the license agreement. You can use the Print button to print the license agreement text or click the Save button to save it on your computer. When you are ready, click Continue .
-
In the pop-up dialog, click
Agree
to agree with the terms and conditions of the license agreement.
Note: You must accept the license agreement to proceed with the installation.
- In the Select a Destination window, select the hard disk where to install Parallels Management Console.
- Click Install to start the Parallels Management Console installation.
- Enter your password, when prompted, and click OK . The installation progress is displayed in the Installing Parallels Management Console window.
- Once the installation is complete, click Close to exit the installer.
After the installation, you can launch Parallels Management Console from the
Applications
folder on your Mac.
|
|
 Feedback
|