Introduction
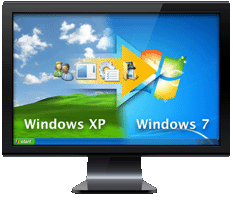
With Parallels Desktop Upgrade to Windows 7, you can smoothly upgrade Windows XP and Windows Vista to Windows 7 without losing your files and programs. Depending on your configuration, Parallels Desktop Upgrade to Windows 7 offers the following ways of moving to Windows 7:
- Upgrading Windows XP computer or Windows Vista computer to Windows 7;
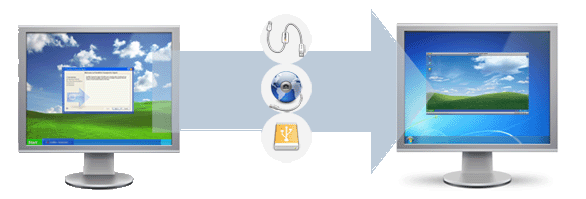
- Transferring all files and programs from Windows XP computer to another Windows 7 computer or from Windows Vista computer to another Windows 7 computer;
-
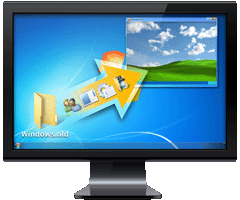
Restoring Windows XP or Windows Vista files and programs from the
Windows.oldfolder.
Note : In this guide, only Windows XP is mentioned, however, all the information is also relevant to Windows Vista.
Upgrading Windows XP Computer to Windows 7
If you want to upgrade a Windows XP-based computer to Windows 7, Parallels Desktop Upgrade to Windows 7 can help you perform the upgrade in such a way that you will not have to format the hard disk, install Windows 7 manually or reinstall the available programs. Moreover, during the upgrade, Parallels Desktop will create a Windows XP virtual machine (a virtual copy of the initial Windows XP-based computer). If any of your existing Windows XP programs are not supported in Windows 7, you will still be able to run them in the Windows XP virtual machine.

To upgrade your Windows XP computer to Windows 7, all you have to do is perform the following simple steps:
- Start Parallels Desktop Upgrade to Windows 7 on your Windows XP computer and follow some simple wizard steps.
- Insert your Windows 7 installation DVD disc and Parallels Desktop Upgrade to Windows 7 will do the rest.
For detailed instructions, see Upgrading Windows XP Computer to Windows 7 .
Transferring Windows XP Files to Windows 7
If you have a Windows XP computer and a Windows 7 computer, Parallels Desktop Upgrade to Windows 7 can help you transfer all of the files and programs from Windows XP to Windows 7. You will be able to work with these Windows XP files and programs in both the Windows 7 operating system and the Windows XP virtual machine (a virtual copy of your Windows XP computer) that will also be created in Windows 7 during the transfer process. If any of your Windows XP programs are not supported in Windows 7, you will still be able to run them in the Windows XP virtual machine.

To transfer the Windows XP files and programs to Windows 7, you need to:
- Start Parallels Desktop Upgrade to Windows 7 on the Windows XP computer and follow some simple wizard steps.
- Start Parallels Desktop Upgrade to Windows 7 on the Windows 7 computer and follow some simple wizard steps.
- Select the file transfer method: using the Parallels USB cable, over network, or using an external storage device. If you choose to transfer the files and programs using the Parallels USB cable, you will need to connect the Windows XP computer and the Windows 7 computer with the Parallels USB cable.
For detailed instructions, see Transferring Windows XP Files to Windows 7 .
Restoring From Windows.old Folder
If you have performed a custom installation of Windows 7 on your Windows XP computer yourself, Parallels Desktop Upgrade to Windows 7 can help you to restore your files and programs from the previous Windows XP installation using the
Windows.old
folder. In addition to that, Parallels Desktop will create a Windows XP virtual machine (a virtual copy of your Windows XP computer) using the
Windows.old
folder as a basis. If any of the restored Windows XP programs are not supported in Windows 7, you will still be able to run them in the Windows XP virtual machine.

To restore the Windows XP files and programs from the
Windows.old
folder, you need to start Parallels Desktop Upgrade to Windows 7 on the Windows 7 computer, follow some simple wizard steps, and then select
Restore from Windows.old
.
For detailed instructions, see Restoring from Windows.old Folder .
|
|
 Feedback
|