Transferring Using the Parallels USB Cable
To perform this type of transfer, the Windows XP and Windows 7 computers must be connected to each other using a special Parallels USB cable. The cable is included in the boxed version of Parallels Desktop Upgrade to Windows 7.
Note 1 : Only users with administrative rights can perform this transfer procedure.
Note 2 : If you have several user accounts on your Windows XP computer, their files and programs will be also transferred to Windows 7. In addition to that, a Windows XP virtual machine will be created for each user account when the corresponding user logs in to Windows 7 for the first time after the transfer. Using these virtual machines, users will be able to run their transferred Windows XP programs if they are not supported in Windows 7.
Installing Upgrade Agent on the Source Computer
-
On the Windows XP computer, disable your antivirus, close all currently running programs, and start Parallels Desktop Upgrade to Windows 7:
- If you purchased a boxed version of Parallels Desktop Upgrade to Windows 7, insert the installation disc into the CD/DVD drive.
-
If you purchased the program online, locate the
ParallelsDesktopUpgradeToWindows7-5.0.xxxxx.xxxxxx.exefile and double-click it.
Parallels Desktop Upgrade to Windows 7 will connect to the Parallels update server and check for available updates. If there is a newer version of Parallels Desktop Upgrade to Windows 7 available, you will be offered the opportunity to download and install the most recent version of the program. If you do not want to install the most recent version, you can choose to install the current version.
-
In the first window, click
Move to another computer
.

Note : When the first window opens, Parallels Desktop Upgrade to Windows 7 occupies full screen. To get back to the Windows XP desktop, press the Windows key on the keyboard and the Windows XP
Startmenu together with the taskbar will reappear. -
In the
Choose Transfer Options
window, read the important information, confirm if you want to continue, and choose how you want to transfer your Windows XP programs to Windows 7.
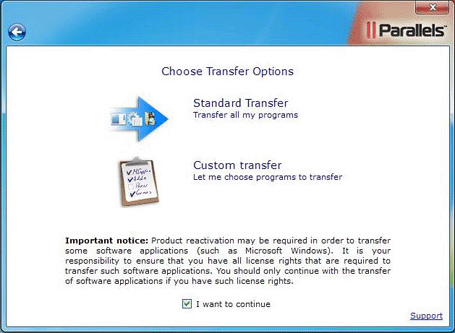
If you want to transfer all your Windows XP programs to Windows 7, click Standard Transfer . If you want to specify what Windows XP programs will be transferred to Windows 7, click Custom transfer .
Installation of the Upgrade Agent will begin.
-
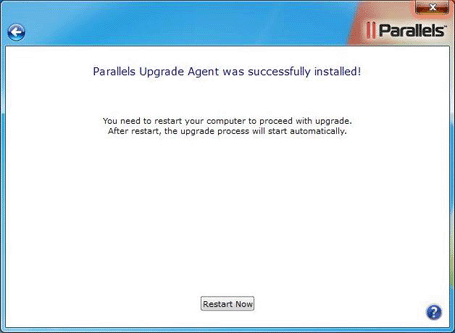
After the Upgrade Agent is installed, you will be asked to restart the computer. Click
Restart Now
.
-
In the
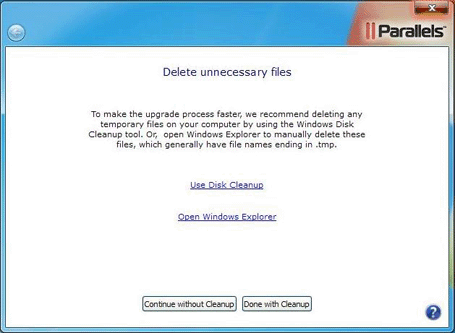
Delete unnecessary files
window, you can use the Disk Cleanup utility or Windows Explorer to delete unnecessary files from the hard disk. Deleting unnecessary files can significantly reduce the size of the Windows XP virtual machine and speed up the transfer procedure.
-
The
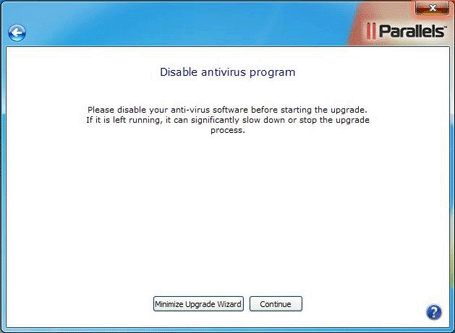
Disable antivirus program
window reminds you that you should disable your antivirus software. If you disabled it in Step 1, click
Continue
. If you did not disable it in Step 1, click
Minimize Upgrade Wizard
, disable the antivirus software, return to the
Disable antivirus program
window, and click
Continue
.
-
If you selected
Standard Transfer
in Step 3, go to the next step. If you selected
Custom transfer
in Step 3, in this step you have to specify the Windows XP programs that will be transferred to Windows 7.
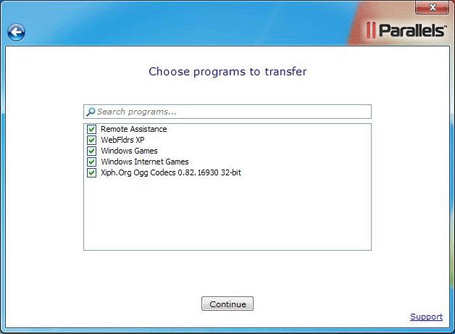
Select the programs that you want to be transferred to Windows 7 and click Continue .
-
If you enter credentials to log in to your Windows XP computer, in the next step, you will see the
Automatic Logon
window. In this window, you can provide your Windows XP account password (This is the password you use to enter your desktop on a regular basis). If you provide the password now, you will not have to provide it each time when starting the Windows XP virtual machine.
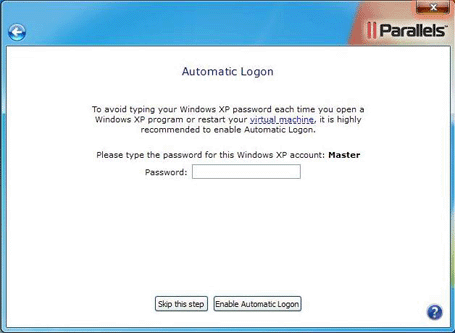
If you want to provide your Windows XP account password now, type it in the Password field and click Enable Automatic Logon . If you do not want to enable automatic logon, click Skip this step .
-
Then you will see the
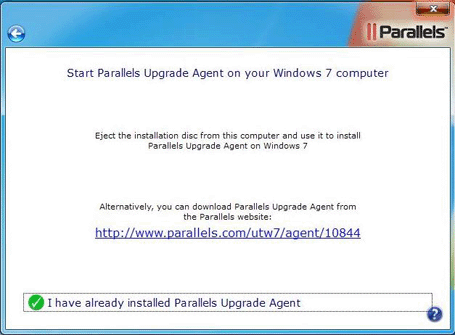
Start Parallels Upgrade Agent on your Windows 7
computer window. Do not close this window. Eject the Parallels Desktop Upgrade to Windows 7 installation disc and go to the Windows 7 computer. Now you need to start Parallels Desktop Upgrade to Windows 7 on the Windows 7 computer.
Installing Parallels Desktop Upgrade to Windows 7 on the Target Computer
-
On the Windows 7 computer, disable your antivirus, close all currently running programs, and start Parallels Desktop Upgrade to Windows 7.
- If you purchased a boxed version of Parallels Desktop Upgrade to Windows 7, insert the installation disk into the CD/DVD drive.
-
If you purchased the program online, locate the
ParallelsDesktopUpgradeToWindows7-5.0.xxxxx.xxxxxx.exefile and double-click it.
Parallels Desktop Upgrade to Windows 7 will connect to the Parallels update server and check for available updates. If there is a newer version of Parallels Desktop Upgrade to Windows 7 available, you will be offered the opportunity to download and install the most recent version of the program. If you do not want to install the most recent version, you can choose to install the current version.
- In the End User Software License Agreement window, carefully read the Parallels end user license agreement. If you agree with the stated terms and conditions, click Agree .
- In the Customer Experience Program window, read about the Parallels Customer Experience program and click Agree if you want to take part in this program. Otherwise, click Disagree .
-
In this step, you will see the
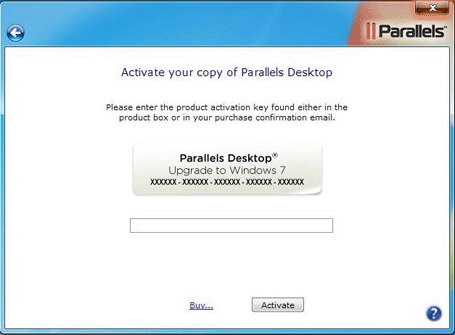
Activate your copy of Parallels Desktop
window. Type the activation key for your copy of Parallels Desktop Upgrade to Windows 7 and click
Activate
.
-
After Parallels Desktop Upgrade to Windows 7 is activated, you are strongly recommended to register it. With registration, you will be able to:
- download and install the latest Parallels Desktop Upgrade to Windows 7 updates
- create a backup copy of the product key on the Parallels web server and restore it at any time
- contact the Parallels support team
- stay informed about Parallels news and announcements
All these services, including the product key backup, are free of charge for the registered users of Parallels Desktop Upgrade to Windows 7.
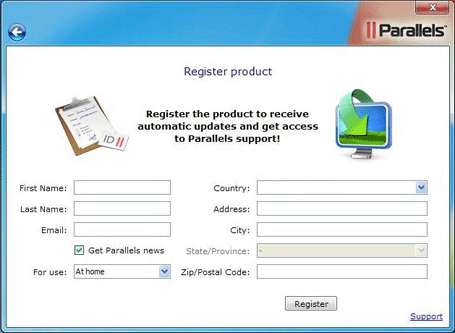
In the registration dialog, please provide your name, e-mail, and address in the corresponding fields. You should also specify where you are going to use Parallels Desktop Upgrade to Windows 7.
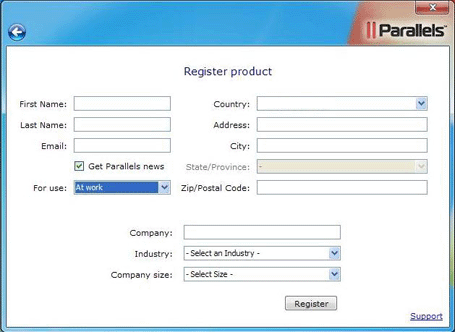
If you choose At work from the For use list, you will be asked to specify some additional information. Parallels needs this information to know our customers better in order to provide them with the best software and service.
-
In the
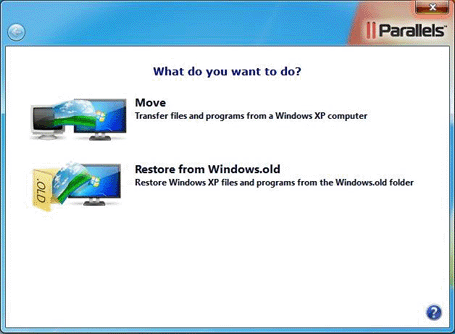
What do you want to do
window, click
Move
to transfer your files and programs from the Windows XP computer to your Windows 7 computer.
-
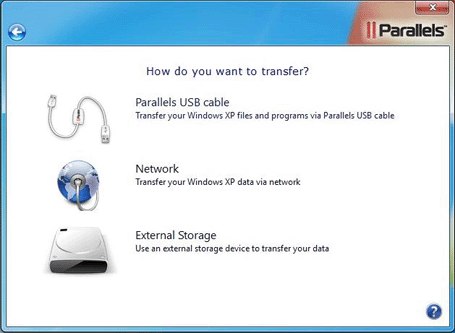
Then select the transfer method. Click the
Parallels USB cable
button to transfer using the Parallels USB cable.
-
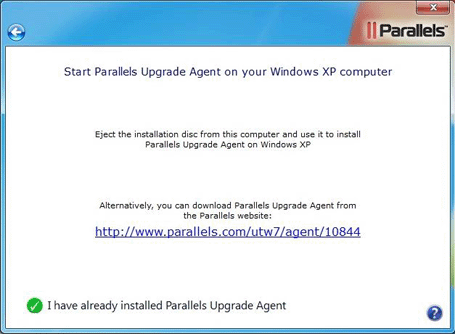
In the next window, you are offered to install the Upgrade Agent on your Windows XP computer if you have not done it yet. Click
I have already installed Parallels Upgrade Agent
as you have already installed the Upgrade Agent on the source computer.
-
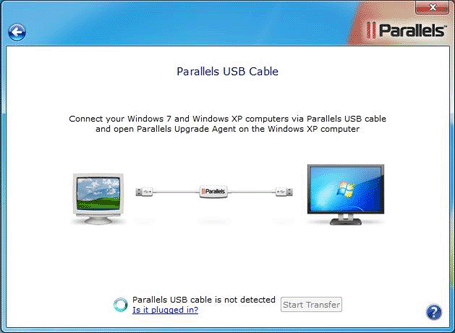
You will see the
Parallels USB Cable
window. It means that your target computer is ready for the transfer.
Transferring Using the Parallels USB Cable
-
On the Windows XP-based computer, click
I have already installed Parallels Upgrade Agent
in the
Start Parallels Upgrade Agent on your Windows 7 computer
window.

-
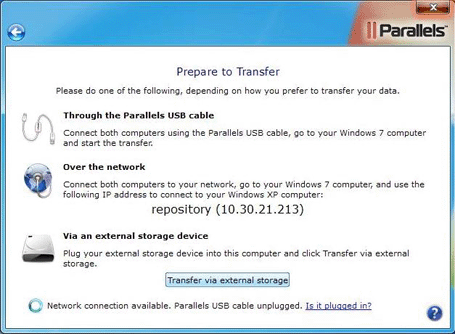
At this point you should see the
Prepare to Transfer
window on your screen.
- Now connect the Windows 7 and Windows XP computers with the Parallels USB cable. After you connect the Parallels USB cable to the Windows XP computer, you will see the Found New Hardware Wizard window. In this window, select Yes, this time only , click Next twice and wait until the installation of the Parallels USB cable driver is finished. If during the driver installation process you are asked whether to install the Parallels USB cable driver or not, click Continue anyway .
-
On the Windows 7 computer, click
Start Transfer
in the
Parallels USB Cable
window.

Parallels Desktop Upgrade to Windows 7 will transfer all the Windows XP programs and files to Windows 7 and to the Windows XP virtual machine that will be created on the Windows 7 computer. After the transfer is complete, you can use Parallels Program Switcher to run the transferred Windows XP programs that are not supported in Windows 7 using the Windows XP virtual machine.
Note : The transfer process may take you a considerable amount of time. If your source or target computer is a laptop, make sure it is plugged into a power outlet.
- When the transfer is finished, the wizard will inform you about it. To close the wizard, click Done . At this point, you can also close the Upgrade Agent window in Windows XP.
- You can now start working with your Windows XP programs and data in Windows 7.
|
|
 Feedback
|