|
|
|
|
Create an Enrollment Agent template
To create the Enrollment Agent template:
- From the Certificate Authority server, launch the Certificate Authority management console (MMC) from Administrative Tools.
- Expand the CA, right -click on the "Certificate Templates" folder and select Manage .
-
Right-click the Enrollment Agent template and choose
Duplicate Template
. The new template properties window opens. On the
General
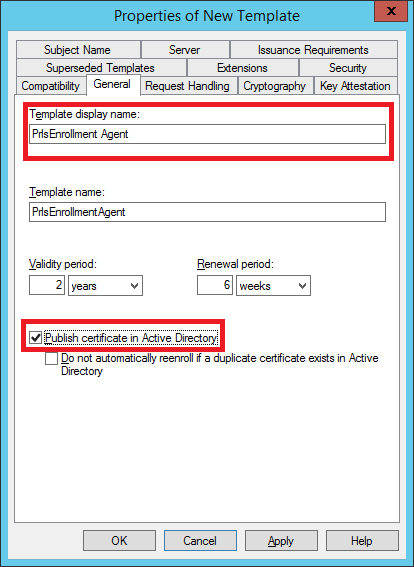
tab, configure the following properties:
- Template display name: PrlsEnrollmentAgent
- Template name: PrlsEnrollmentAgent
- Validity period: 2 years
- Renewal period: 6 weeks
- Publish certificate in Active Directory : ON
-
Do not automatically re-enroll if a duplicate certificate exists in Active Directory:
OFF
Note: The display name can be any name you choose, however the template name must match the template name highlighted above.
-
Select the
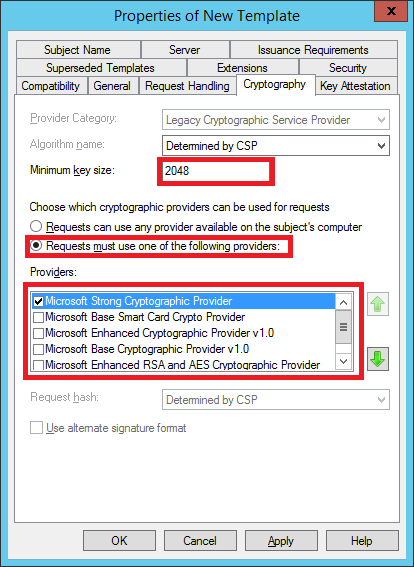
Cryptography
tab and set the following values:
- Provider category: Legacy Cryptographic Service Provider (read-only).
- Algorithm name: Determined by CSP
- Minimum key size: 2048
In the section Choose which cryptographic providers can be used for requests , choose Requests must use one of the following providers . In the following list of providers, clear all options except Microsoft Strong Cryptographic Provider and set priority as the preferred provider:
[X] Microsoft Strong Cryptographic Provider
[ ] Microsoft Enhanced Cryptographic Provider v 1.0
[ ] Microsoft Base Cryptographic Provider v 1.0
[ ] Microsoft Enhanced RSA and AES Cryptographic Provider
-
Select the
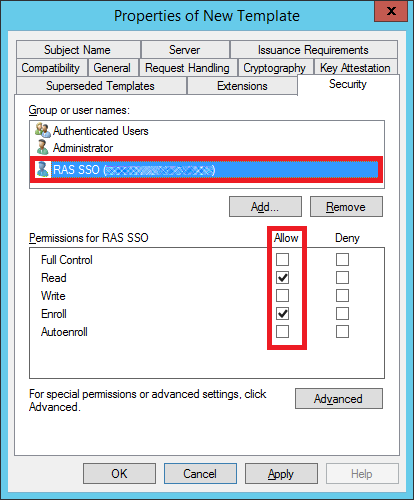
Security
tab and do the following:
- Click Add.
- Add the enrollment agent user account.
- Allow (select) the "Read" and "Enroll" permission. Click Apply and OK .
Issue the certificate template
To issue the certificate template that you've created:
- Run Certificate Authority again and right click on Certificate Templates, select new and click on Certificate Template to Issue .
- Select the certificate template you've created in the previous steps (i.e. Prls Enrollment Agent) and click OK .
- The certificate template should appear in the Certificate Templates list.
Note: After creating the Enrollment Agent template and the Smartcard Logon template (described later), you should restart the Active Directory Certificate Services service in Windows.
|
|