|
|
|
|
Installing Parallels Client Using an Invitation Email
Your Parallels RAS administrator will send you an invitation email with the instructions on how to install Parallels Client for Windows and configure a Parallels RAS connection. The invitation email will contain the following information and action links:
- A message from your system administrator.
- A link to download Parallels Client for Windows (links to Parallels Client for other platforms may also be included if you are using other devices in addition to a Windows computer).
- A link to automatically configure Parallels Client on your computer, so you can connect to Parallels RAS.
- Parallels RAS connection properties. You can use this information to manually create a Parallels RAS connection. The automatic configuration via the link (see above) is the preferred and the easiest method, but you can use this information to create a connection manually if needed for any reason.
Install Parallels Client for Windows
To install Parallels Client for Windows using an invitation email:
- In the invitation email, click the Windows thumbnail to download Parallels Client for Windows installer.
- When the download is complete, go to your download folder and run the file that you just downloaded.
- Follow the onscreen instructions to begin the installation.
- If you don't have administrative permissions on this computer, a dialog will open saying so. The dialog has two buttons: Install Full Client and Install Basic Client . If you know credentials of an administrative account on this computer, click Install Full Client and enter the credentials when asked. The installation will continue using these credentials and the full version of Parallels Client will be installed. If you don't know the credentials, click Install Basic Client . The basic version of Parallels Client will still work but some of the functionality will be missing.
- On the Shortcuts page, select where you want to create a Parallels Client shortcut. You can select one or more options.
- The SSO Installation page will be skipped when installing Parallels Client on a Windows Server operating system. On all other supported versions of Windows, it will be shown. Use the page to specify whether you want to install the Single Sign-On component. The component will automatically use your credentials to connect to Parallels RAS. Please note that for the component to work, you will need to reboot your computer (or log off and then log on again) after the installation.
- Click Next .
- On the Ready to Install page, click Install .
- Once the installation is complete, click Finish to close the wizard.
You now need to configure Parallels Client, so it can connect to Parallels RAS. The invitation email that you received from your system administrator includes a link that can accomplish this task automatically. Please follow the instructions below to configure Parallels Client.
Configure Parallels Client for Windows
To configure Parallels Client:
- In the invitation email, find the Configure section and click the Click Here to auto configure the downloaded client link.
-
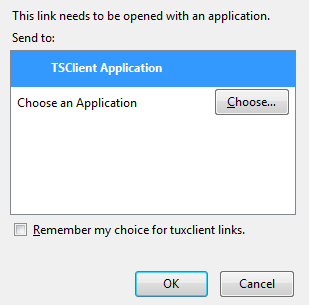
The link will open in a web browser after which you should see the following dialog:
-
Make sure the
TSClient Application
item is selected and click
OK
. This will configure Parallels Client for Windows and then will display the
Logon
screen.
-
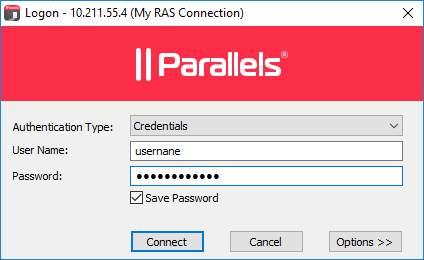
Select the
Authentication Type
from the following:
- Credentials . Select this option to connect to Parallels RAS by supplying your credentials, such as your domain user name and password.
- Smart card . Select this option to connect to Parallels RAS using a smart card.
-
Single Sign-On
. This option will be included in the list only if the Single Sign-On module is installed during Parallels Client installation. Select this option to use local system credentials to connect to the remote server.
Note for Administrators: The allowed authentication type(s) must be specified in the RAS Console in Connection / Authentication .
- Depending on the authentication type selected, type your user name and password or insert a smart card into a reader. If using a smart card, enter a PIN when prompted.
- Click Connect .
You should now see the main Parallels Client window. The left pane of the window displays the connection that was automatically configured for you.The right pane displays published resources that you can use.
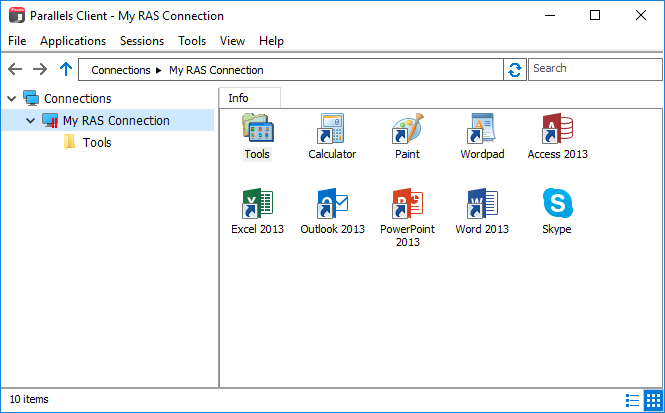
Double-click a resource to open it. The resource will open in a separate window on your local computer as if it was a local application or a document (or a remote desktop if one is available as a published resource).
|
|