|
|
|
|
Managing Parallels Client Settings
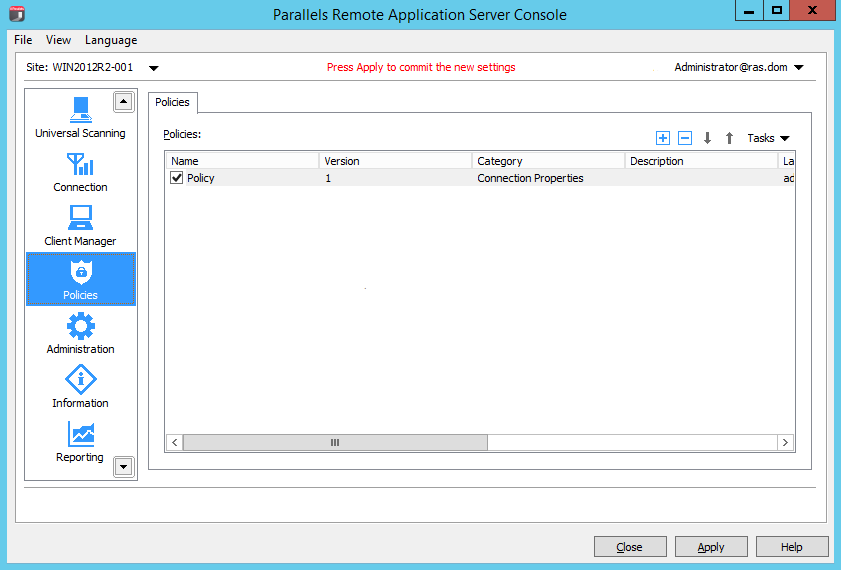
The Policies category allows you to manage Parallels Client policies for all users on the network who connect to a server in the farm. By adding client policies, you can group users and push different Parallels Client settings to user devices. All desktop clients (Windows, Linux, OS X) are supported.
To view, add, and modify Parallels Client policies, select the Policies category in the RAS console.
To add a new Parallels Client policy:
-
Click the
Tasks
drop-down menu and then click
Add
(or click the
+
icon). The
Policy Properties
dialog opens.
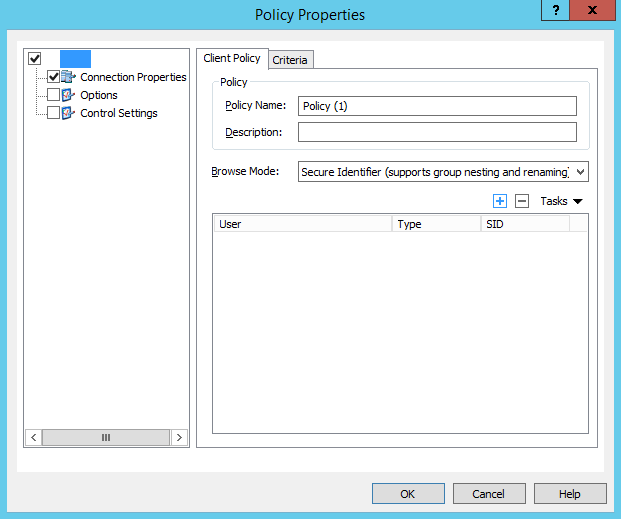
- The left pane contains a navigation tree allowing you to select a group of options to configure.
- Make sure the Policy node is selected and then specify a policy name and an optional description.
- In the Browse Mode drop-down list, select how you want to browse for users and groups. The preferred mode is Secure Identifier (default). Other options exist for backward compatibility.
- In the Tasks drop-down menu, click Add (or click the plus sign icon).
- In the Select User and Groups dialog, specify the target users and/or groups.
(Optional) Configure Criteria for the Client Policy
By default, a client policy applies to the configured users and groups in all situations. You can define a criteria so the policy only applies when the criteria is matched. This functionality allows you to create different policies for the same user, which will be applied depending on where the user is connecting from and from which device.
To create a new criteria:
- In the Policy Properties dialog, select Policy in the left pane and then select the Criteria tab in the right pane.
- In the Gateway section, select the criteria type in the first drop-down list and then specify the values (if applicable) in the second drop-down list.
- In the MAC Address section, select the criteria type in the first drop-down list and then specify the values (if applicable) in the second drop-down list.
Configure Connection Properties and Options
To configure connection properties and options:
- Select the Connection Properties node in the left pane and then select the connection properties this policy will enforce.
- Select the Options node in the left pane and then specify the options to restrict or enforce.
Configure Control Settings
The Control Settings options allow you to control various actions on the client side. These options affect the following RDP clients:
- Windows
- Linux
- Mac
- Android
- iOS
- Windows Phone
To configure control settings:
- Select the Control Settings node in the left pane.
-
On the
Connections
tab page, select (or clear) the following options:
- Do NOT add RAS connections . When a user presses the Add Connection button, an RDP connection is immediately created.
- Do NOT add Standard RDP connections . When a user presses the Add Connection button, a RAS connection is immediately created
-
On the
Password
tab page, specify the following options:
- Do NOT save password . Option to save the password will not be shown to the user for that particular connection. Password is never saved on a disk, but kept in memory until the user closes the application.
- Do NOT change password . Option to change the password will not be shown in the context menu for that particular connection.
-
On the
Import and Export
tab page:
- Do NOT import/export setting . The Import and Export buttons will not be shown to the user.
When done configuring client policies, click OK to save the changes and close the Policy Properties dialog.
To modify an existing client policy, right-click it and select Properties in the context menu.
|
|
 Feedback
|