|
|
|
|
Manually Downloading and Installing Parallels Client
The preferred method of downloading and installing Parallels Client for Windows is via an invitation email as described in the previous section. If you would like to download the installer, so you can run it manually on a different computer or for any other reason, please use the following URLs:
-
32 bit version:
http://download.parallels.com/ras/v15/RASClient.msi -
64 bit version:
http://download.parallels.com/ras/v15/RASClient-x64.msi
To install Parallels Client for Windows:
- Make sure you are logged into your computer as a user with administrative privileges.
- Run the Parallels Client installer that you've downloaded from the Parallels website.
-
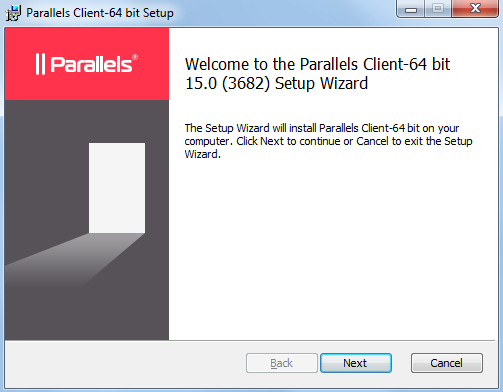
On the
Welcome
page of the installation wizard, click
Next
.
- Accept the License Agreement and click Next .
- Select the folder where you want to install Parallels Client and click Next .
-
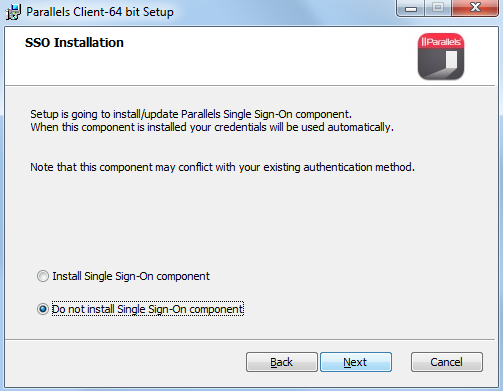
The
SSO Installation
page will be skipped when installing Parallels Client on a Windows Server operating system. On all other supported versions of Windows, it will be shown. Use the page to specify whether you want to install the
Single Sign-On
component. The component will automatically use your credentials to connect to Parallels Remote Application Server. Please note that you will need to reboot your computer (or log off and then log on again) after the installation for the component to work.
- Click Next .
- On the Ready to Install page, click Install .
-
When the installation is complete, you'll see the final wizard page.
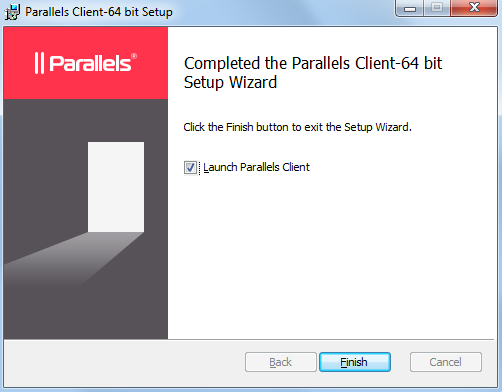
- Click Finish to close the wizard and start Parallels Client for Windows.
|
|
 Feedback
|