Using an External Storage Device
Important: After importing your data, you may need to reactivate some of your Windows applications using the activation keys you received when you purchased the applications.
To import your data from a PC using an external storage device:
- Connect an external storage device to your Windows PC.
- On the Windows PC, open Parallels Transporter Agent by clicking the Start menu and choosing All Applications > Parallels > Parallels Transporter Agent.
- Select External storage and click Continue. Parallels Transporter Agent collects information about the Windows PC.
- If you want to log in to Windows automatically whenever you start up Windows, select Enable Automatic Logon and specify the Administrator's password. When ready, click Continue.
- Choose what you want to transfer;
- System only: this option allows you to transfer the operating system and applications only.
- System and documents: this option allows you to transfer the operating system, applications, and user's files like pictures, documents, downloads, music, videos, etc.
- If you choose System only in step 5, you will have to use Apple Migration Assistant to transfer the user's files.
- Choose where you want to store your data. You can also click Customize and select which Windows volumes to migrate.
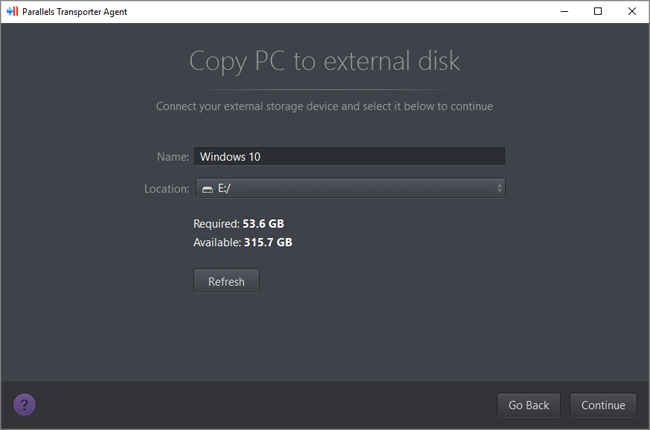
When ready, click Continue.
- In the next step there's a warning about Windows activation that might be required when you start using it. To proceed, read this message, select I want to continue and click Continue.
- Once the migration is complete, click Done to quit Parallels Transporter Agent.
- Disconnect the storage device from the Windows PC and connect it to your Mac.
- On your Mac, open Parallels Desktop and choose File > New.
- Select Transfer Windows from a PC and click Continue.
- Select External storage and click Continue.
- Parallels Desktop scans the connected storages for the newly created virtual machine. If Parallels Desktop cannot find it, select the virtual machine manually. Then click Continue.
- Choose where you want to install Windows and your data, and then click Continue.
- Once the transfer is complete, click Done.
- Start Windows.
- When Windows boots up, choose Actions > Install Parallels Tools and follow the onscreen instructions.
Note: To be able to install Parallels Tools, you must be logged in to Windows as an administrator.