|
|
|
Set up Parallels Desktop on a Chrome device
Note:
If you are an IT administrator and want to test the Parallels Desktop Windows image installation on a Chrome device, you can use the same device that you used to create the image. To do so, you need rename the image using the
vmc adjust <VmName> rename <NewName>
command (see
Create a Windows Virtual Machine
). When the image is renamed, it will no longer conflict with the image available on the corporate storage and you can perform the steps described below to download and install it.
To set up Parallels Desktop on a Chrome device, a user needs to do the following:
- Sign in to Chrome OS using credentials given to them by the administrator.
- Open Launcher.
-
Locate the Parallels Desktop icon in the list of apps. You may need to scroll the list to locate the icon.
Note: If you don't see the icon, please see Checking Chrome policies for troubleshooting tips.
-
Click the Parallels Desktop icon. The
Set up Parallels Desktop on your Chrome device dialog
opens. If the dialog doesn't open, once again, see
Checking Chrome policies
for a possible solution.
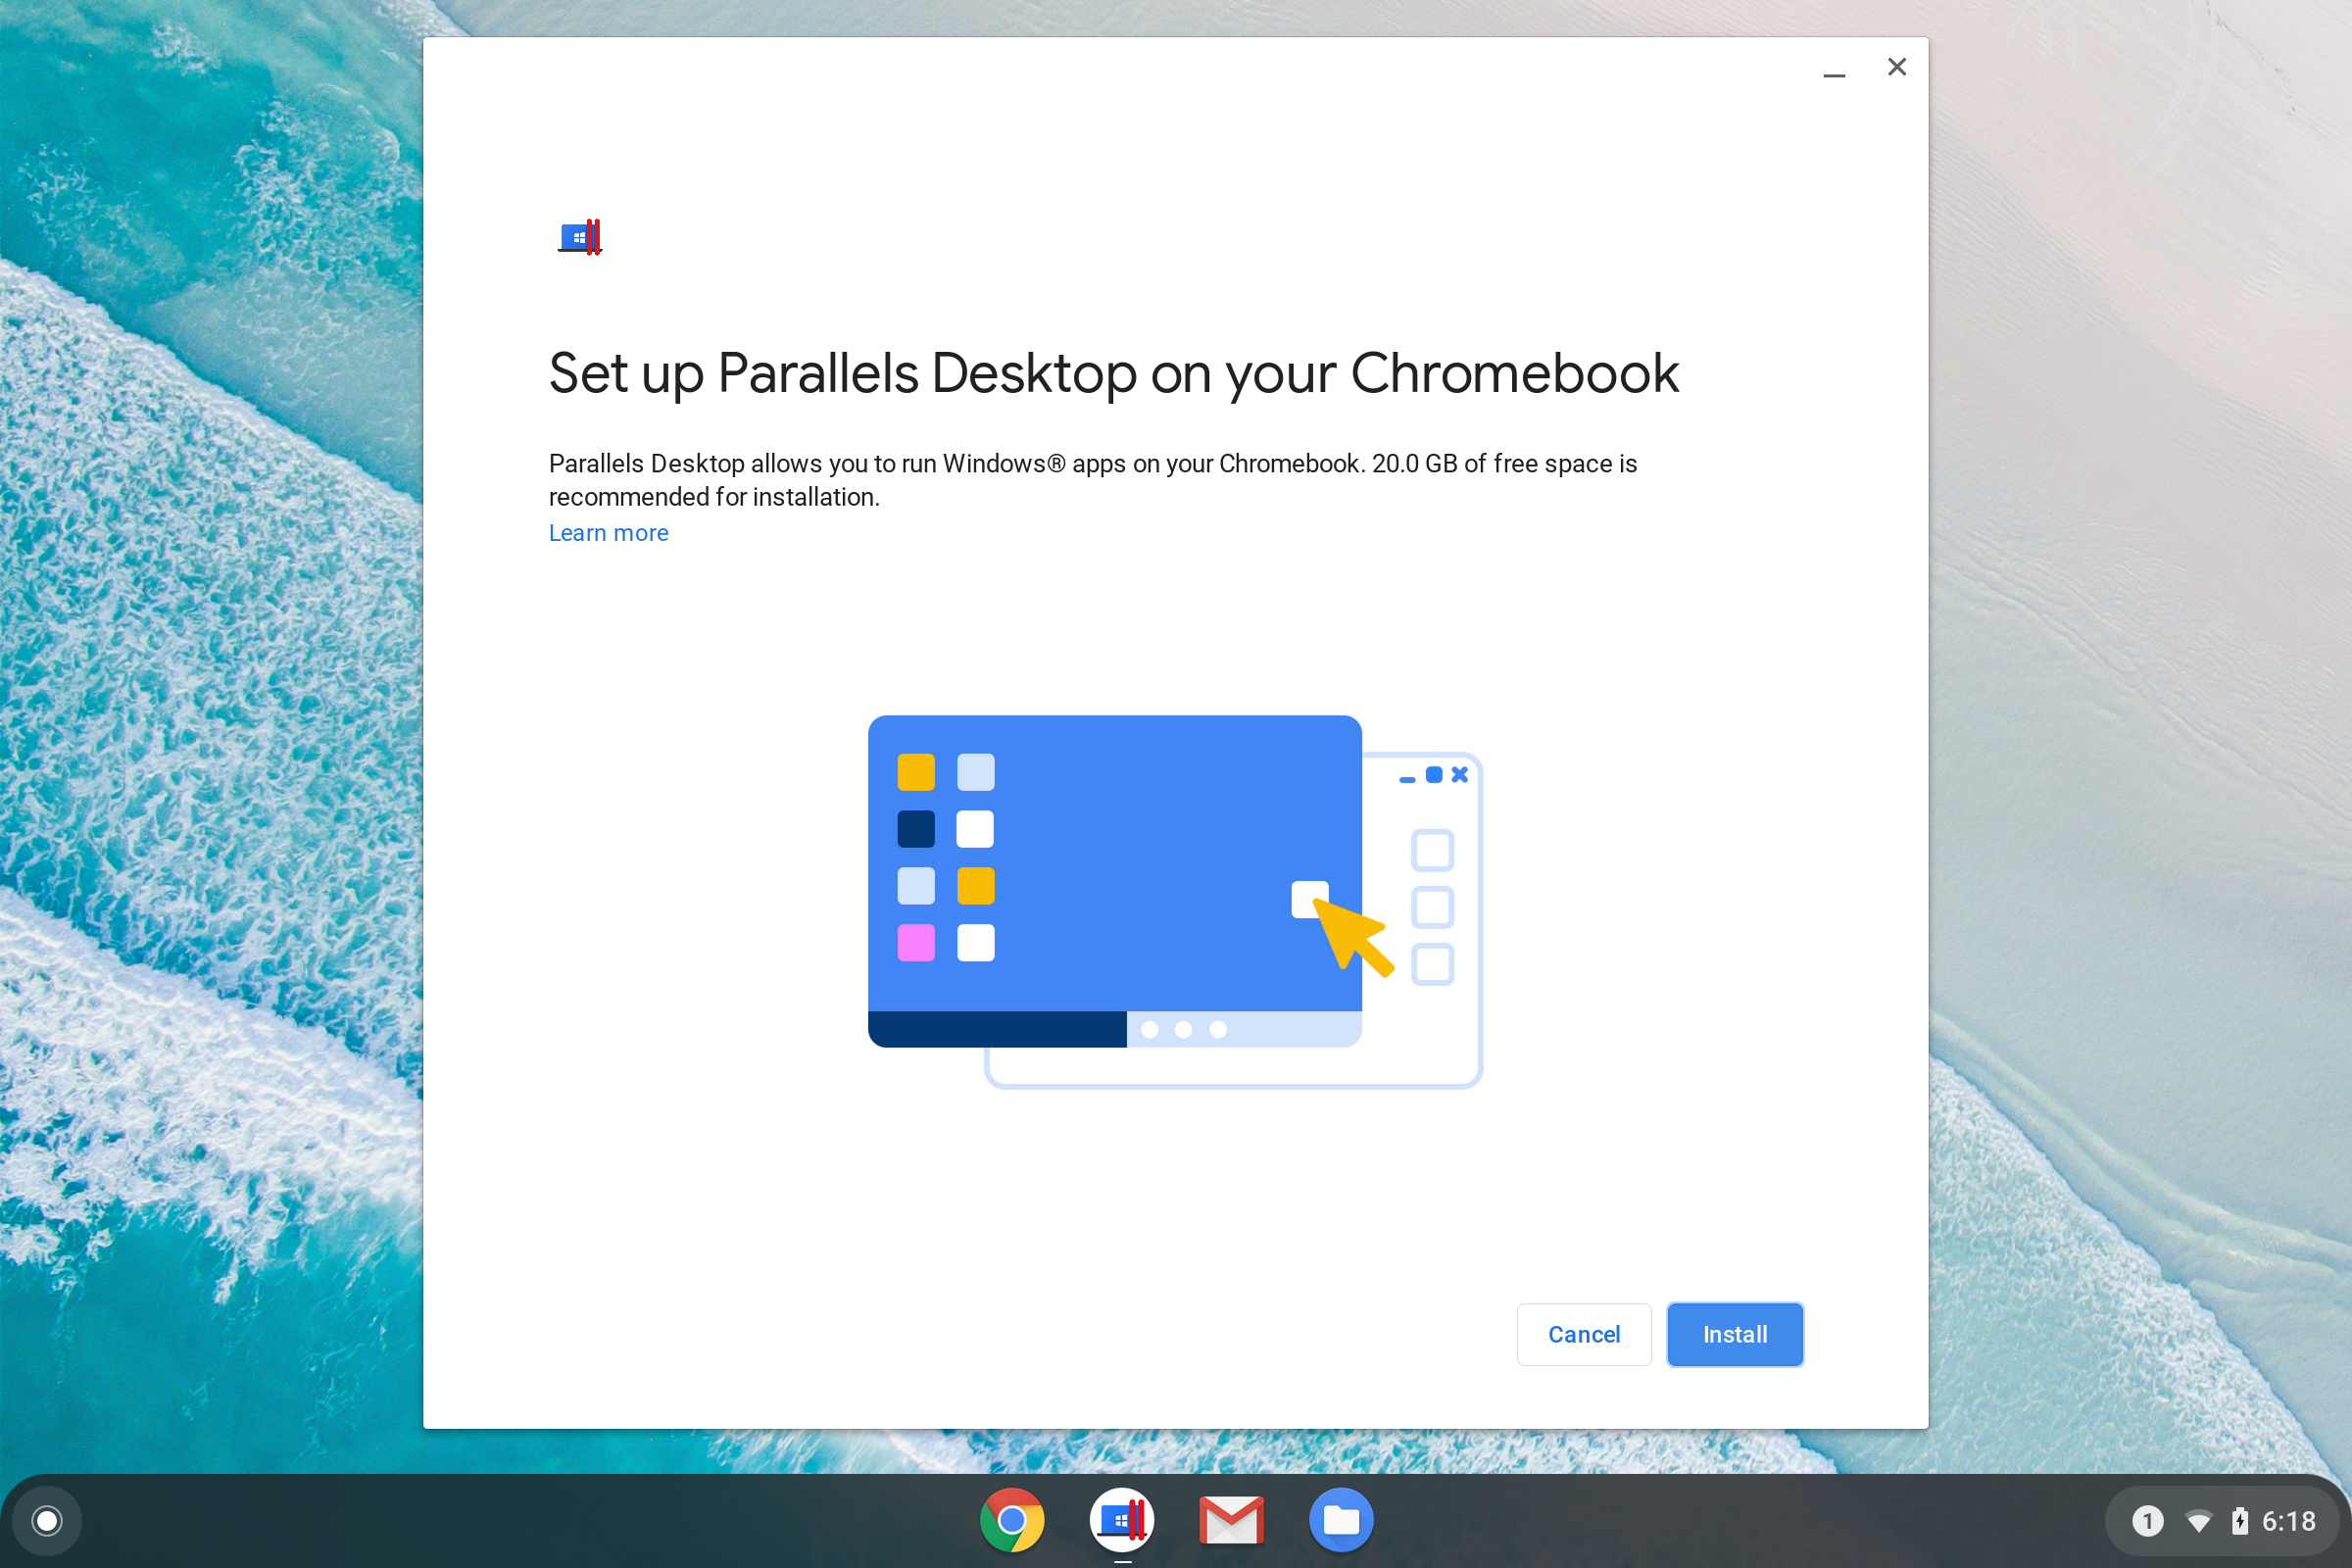
-
Click
Install
. The Parallels Desktop Windows image (virtual machine) is downloaded to the user's Chrome device and the dialog displays the download progress.
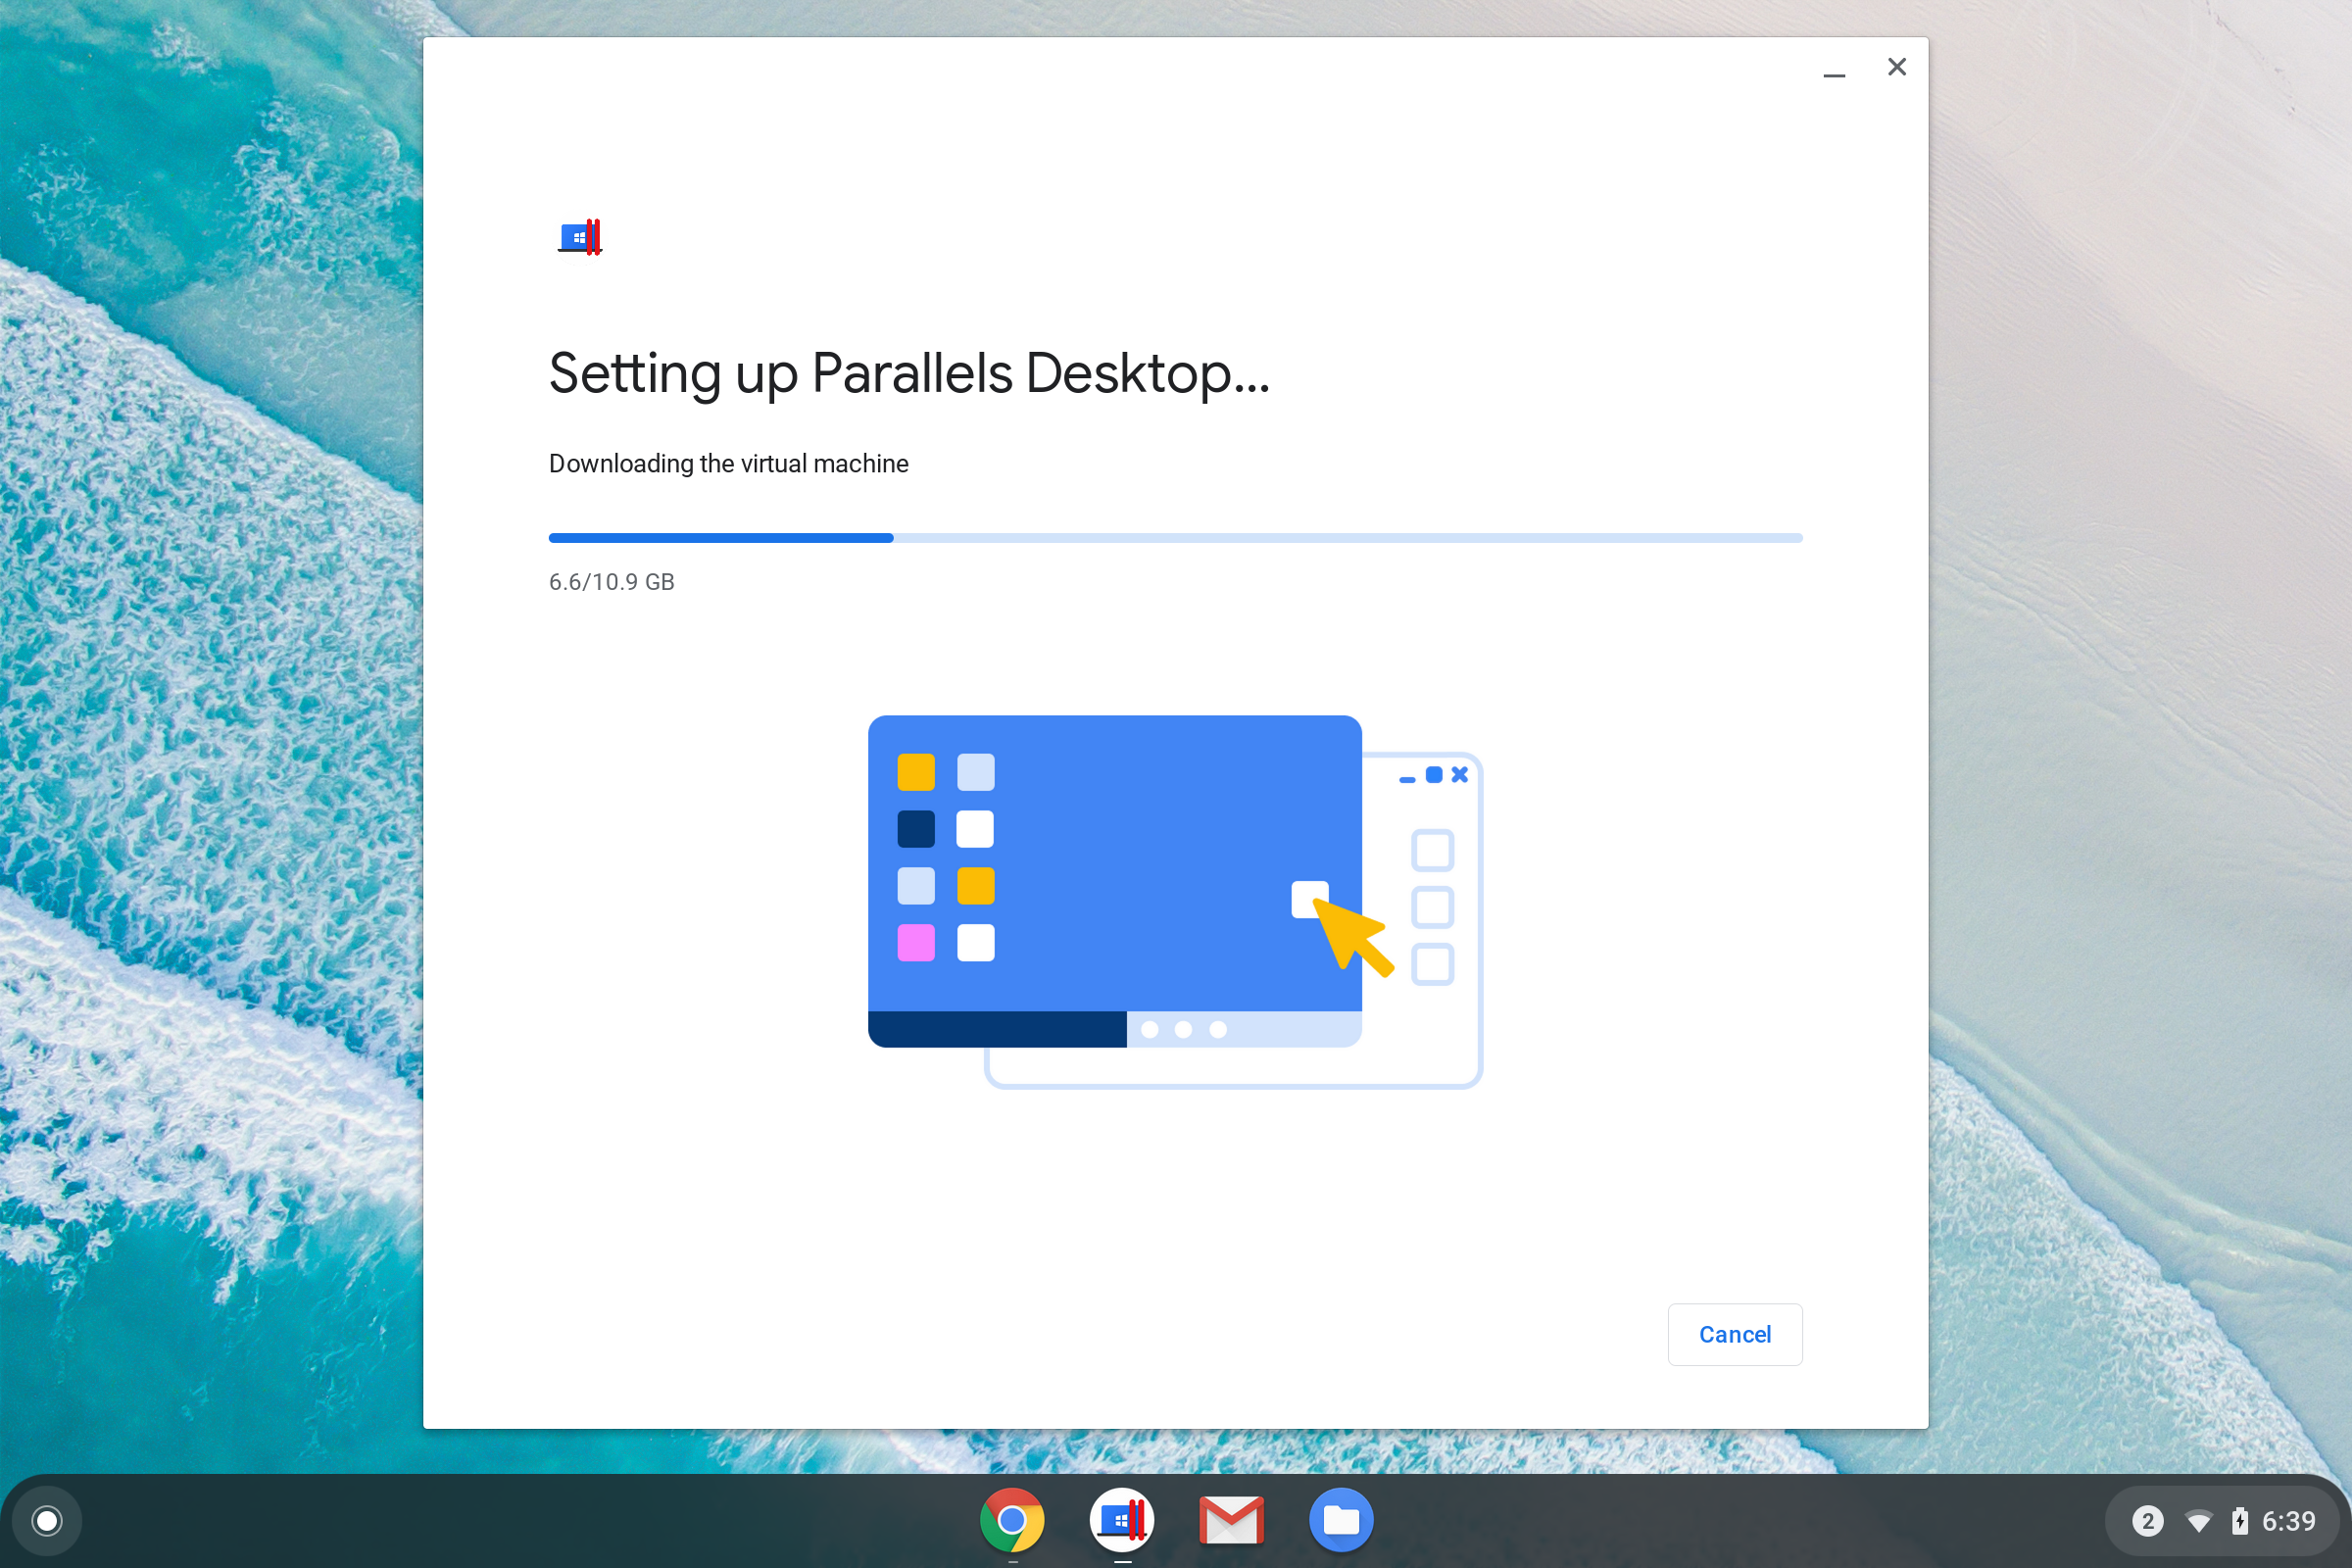
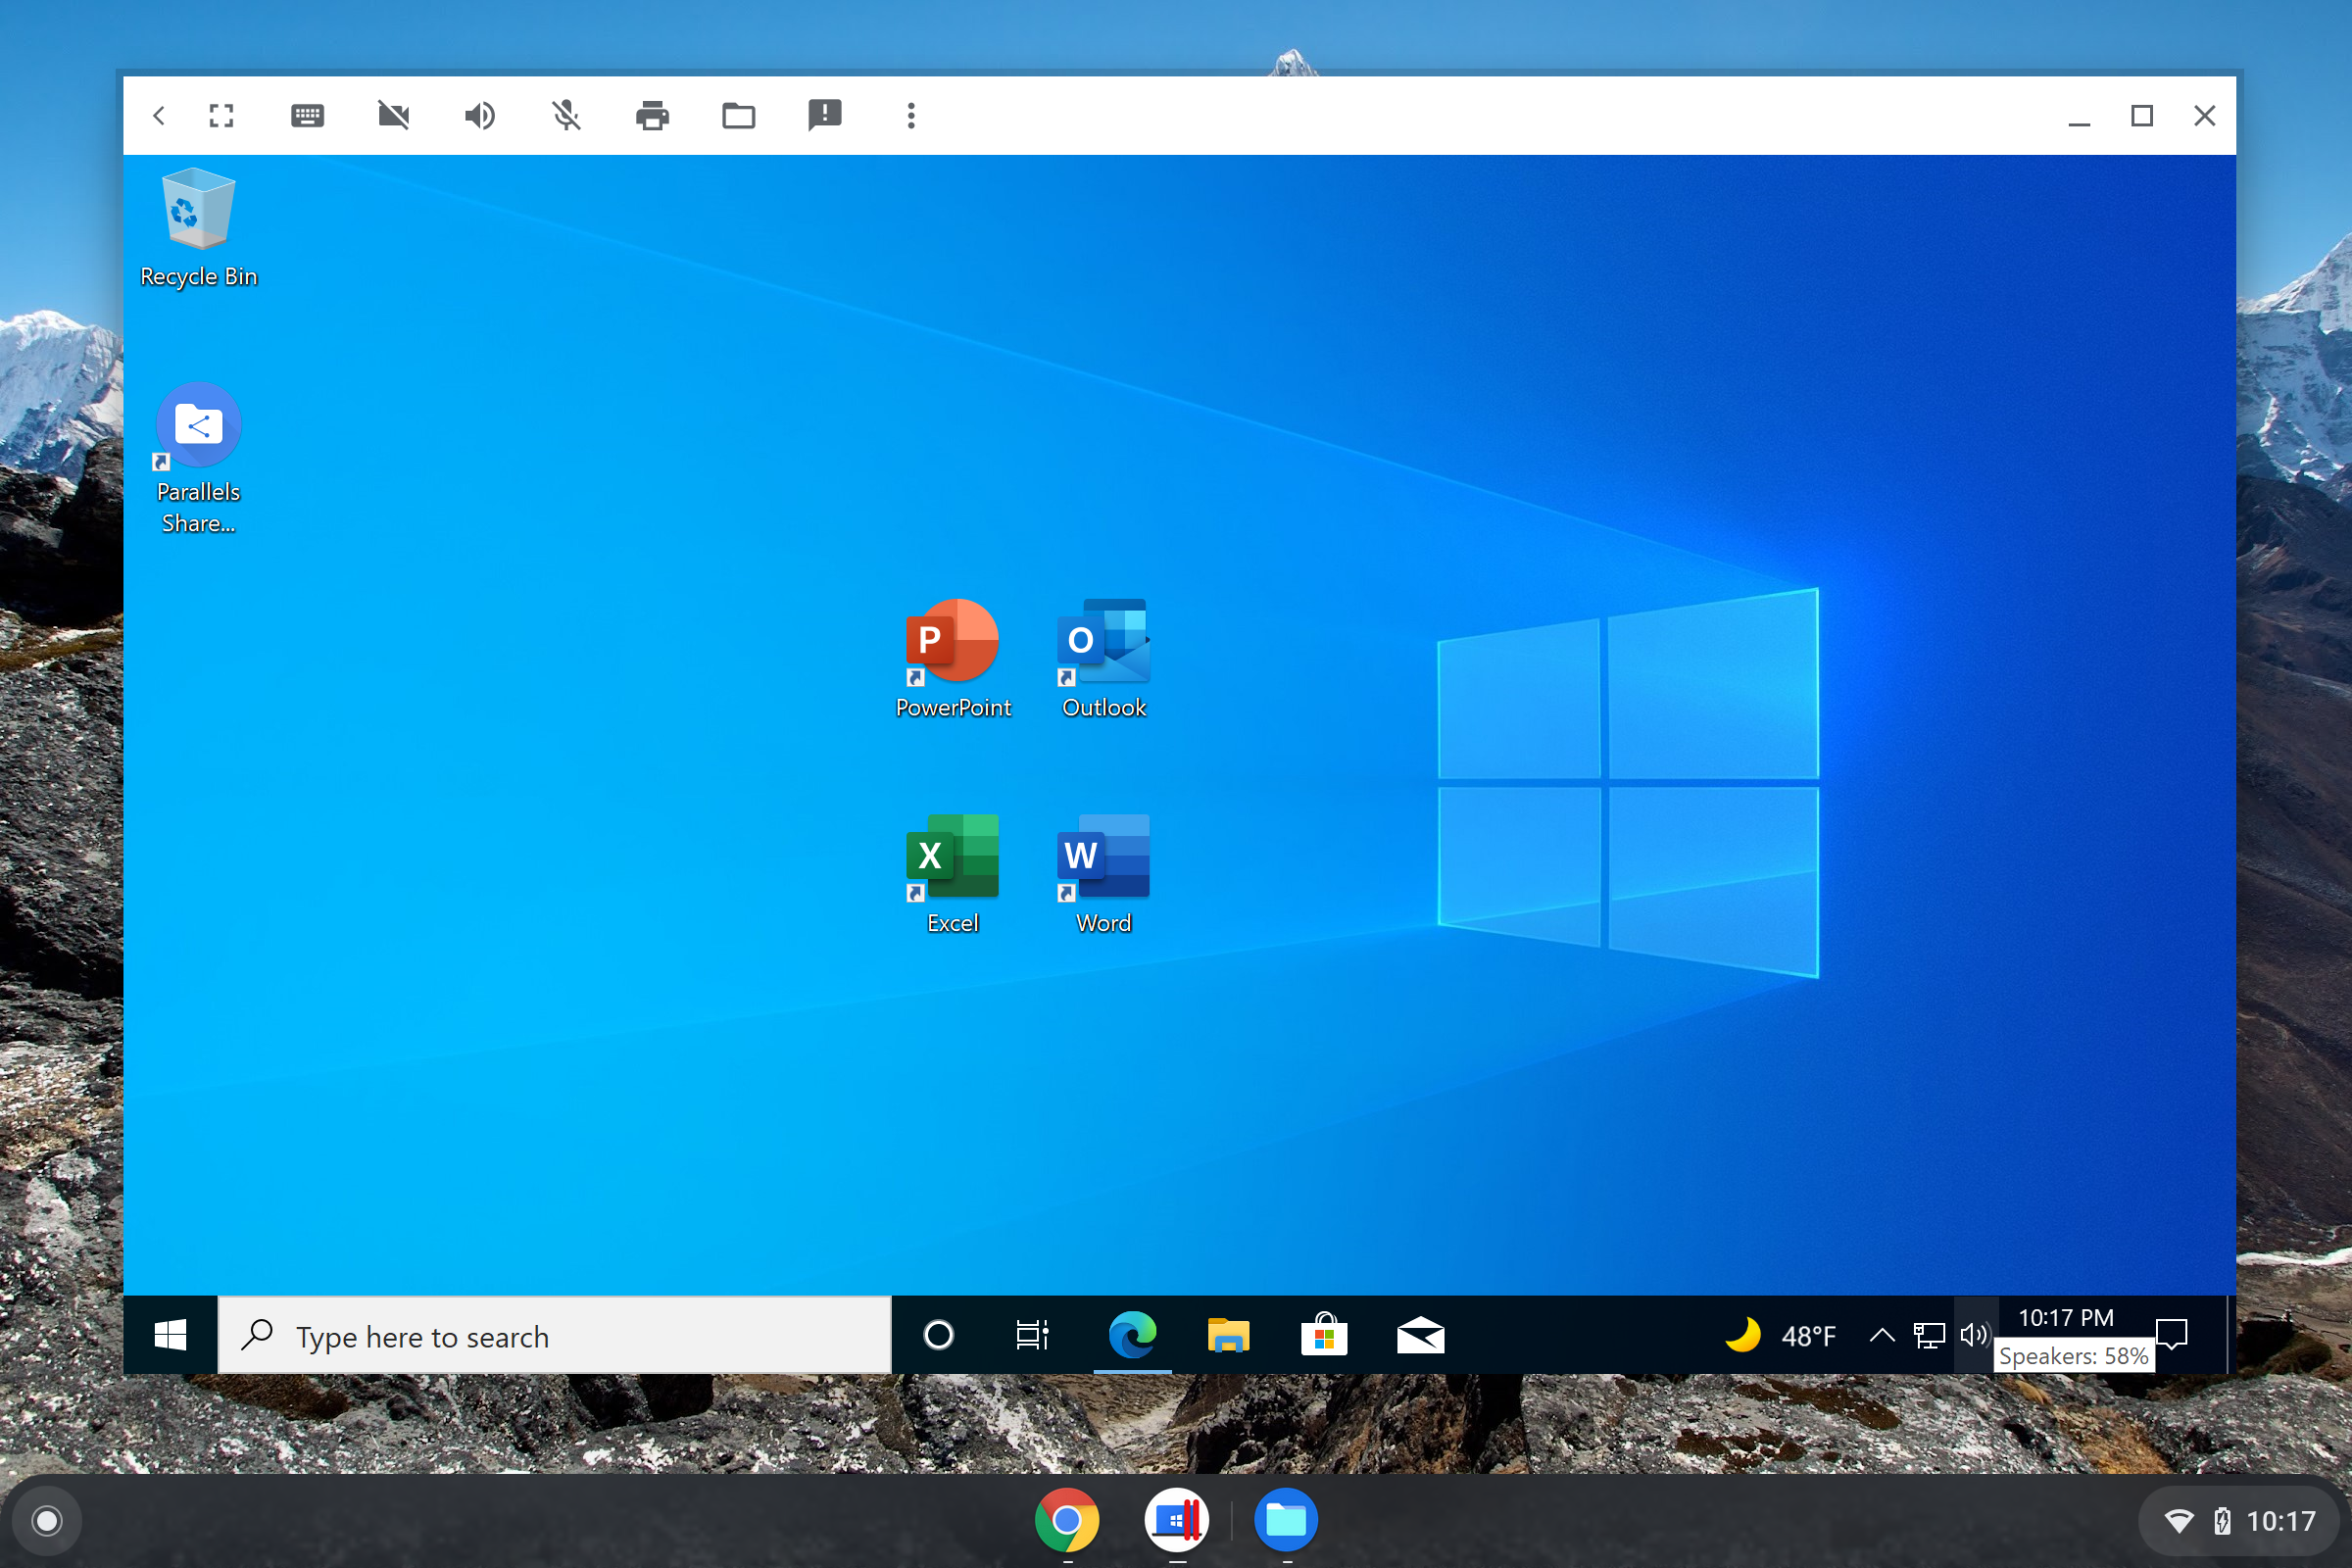
- After the download is complete, the Windows image archive is unpacked and is prepared to run on the Chrome device. When the image is ready, you'll see the Launch button. Click it to start Windows.
Windows starts in its own window and the user can run Windows applications on the Chrome device:
|
|