|
|
|
|
Using an External Storage Device
The migration process using an external storage device consists of three main stages:
- Migrating the source computer data to a Parallels virtual machine with the help of Parallels Transporter Agent. The virtual machine is saved on a USB drive or another removable storage device connected to the source computer.
- Disconnecting the storage device from the source computer and connecting it to the host computer.
- Migrating the resulting virtual machine to the host computer from the storage device with the help of Parallels Transporter.
Important: After importing Windows and your data, you may need to reactivate some of your Windows programs using the activation keys you received when you purchased the programs.
Migrating the Source Computer to the External Storage Device
- Connect an external storage device to the source computer.
-
Start Parallels Transporter Agent on the source computer:
- In Windows, click the Windows Start menu and choose All Programs > Parallels > Parallels Transporter Agent .
- In Linux, click the Applications menu and choose System Tools > Parallels Transporter Agent .
-
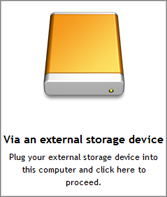
Click the external storage device icon.
- Click Next . Parallels Transporter Agent collects information about the source PC.
- In the Automatic Logon window, you can enable automatic logon to the operating system you're migrating when it is started. If you don't want to enable automatic logon, select Do not enable Automatic Logon . When ready, click Next .
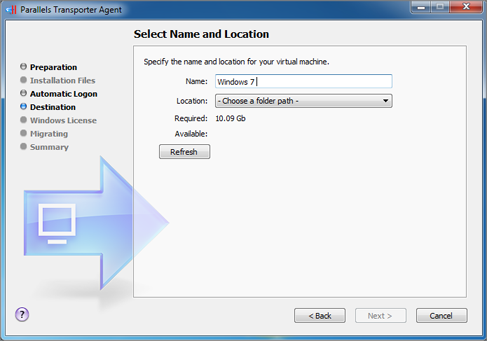
-
Choose where you want to store your data, and then click
Next
.
- If you are migrating Windows, in the next step there's a warning about Windows activation that might be required when you start using it. To proceed, read this message, select I want to continue and click Next .
- Once the migration is complete, click Finish to quit Parallels Transporter Agent.
- Disconnect the storage device from the source PC and connect it to the host computer.
- On the host computer, open Parallels Workstation and choose File > Migrate .
- Select Parallels Transporter Agent is open on the source PC and click Next.
- Select External storage device and click Next .
- Click Choose and locate where you chose to store the source computer data in step 6. Then click Next .
- Choose where you want to install your data, and then click Migrate .
- Once the migration is complete, click Done .
After quitting Parallels Transporter, you can start using the virtual machine on the host computer. Open Parallels Workstation and install Parallels Tools.
Note: To be able to install Parallels Tools in a virtual machine, log in to its operating system as an administrator.
|
|
 Feedback
|