|
|
|
|
Publishing a Desktop from a Terminal Server
To publish a desktop from a terminal server:
- In the RAS Console, select the Publishing category and click the Add icon below the Published Resources tree. This will launch the publishing wizard.
-
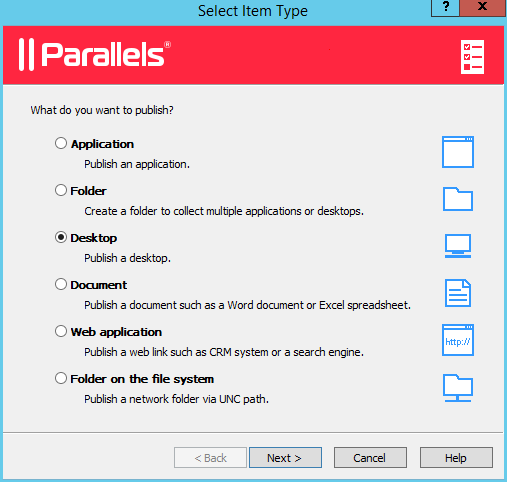
In the first step of the wizard, select
Desktop
and click
Next
.
-
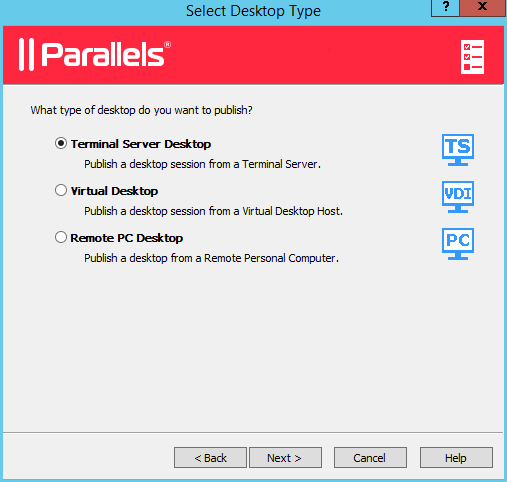
In the
Select Desktop Type
step, select
Terminal Server Desktop
and click
Next.
- Select the Terminal Server(s) which desktops you want to publish. You can select all servers on the site, server group(s), or individual servers. Please note that if you have just one terminal server, this step will be skipped.
- Click Next .
-
In the next step:
- Specify a name and description for the shared desktop, and, optionally, change the icon.
- Select the Connect to console option, so that the users will be connecting to console rather than a virtual session.
- Specify the desired screen resolution using the Size drop-down list. To set a custom width and height of the screen, select Custom in the Size drop-down list and specify the desired values in the fields provided.
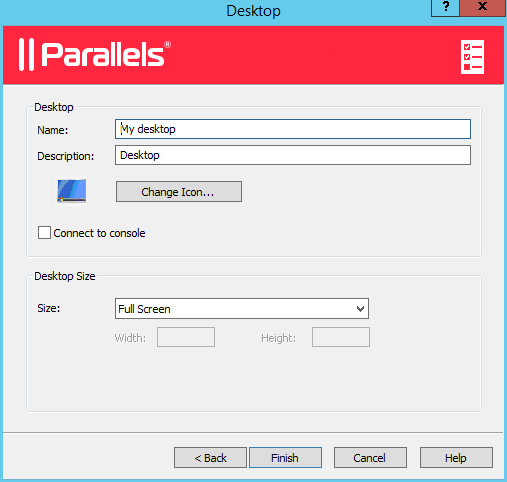
- When done, click Finish to publish the desktop.
|
|
 Feedback
|