Connect Physical Disk to Virtual Machine as Internal
Parallels Desktop allows you to connect a physical hard disk directly to a virtual machine as an internal disk. You can add a physical disk this way either to a new or already existing virtual machine.
Connect Physical Disk as Internal to New Virtual Machine
To connect a physical disk directly to a new virtual machine, do the following:
- Connect the external disk to your Mac via USB.
- When creating a new virtual machine, be sure to select Customize settings before installation.
- When the virtual machine configuration opens, select Hardware, click the Add button
 and choose Hard Disk.
 - Select Physical disk from the Type menu, select the disk you want to add from the Location menu and click OK.
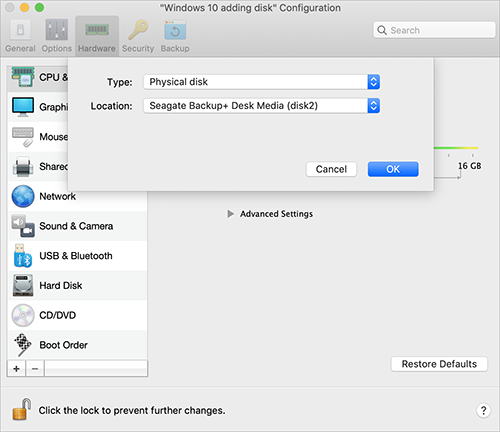
- The physical disk appears in the virtual machine configuration.
If you want to work with its data, leave it as it is. When the virtual machine boots up, you will see this disk next to other virtual machine disks.
If you want to boot the virtual machine from this disk, click Boot Order and use the Up arrow to move this disk to the very beginning of the Boot order list.
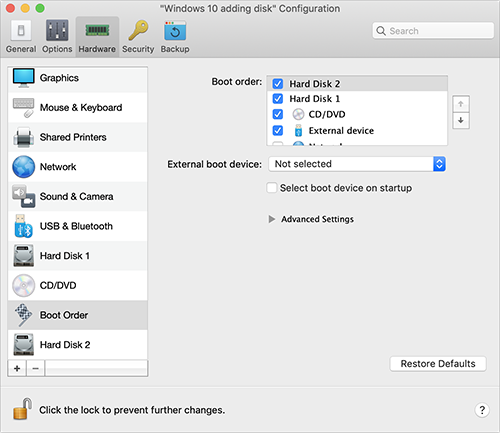
Now, when the physical disk is selected as the first boot device, the virtual machine will boot from it.
Connect Physical Disk as Internal to Existing Virtual Machine
The process of adding a physical disk to an existing virtual machine is very similar to the procedure described above. Do the following:
- Connect the external disk to your Mac via USB.
- Make sure your virtual machine is shut down. If it is running, click the Parallels icon
 in the macOS menu bar and choose Actions > Shut Down. If the virtual machine is suspended or paused, resume the virtual machine and shut it down.
 - Click the Parallels icon in the macOS menu bar and choose Configure to open the virtual machine configuration. Then select Hardware, click the Add button and choose Hard Disk.
- Other steps are the same as described above (starting from step 4).